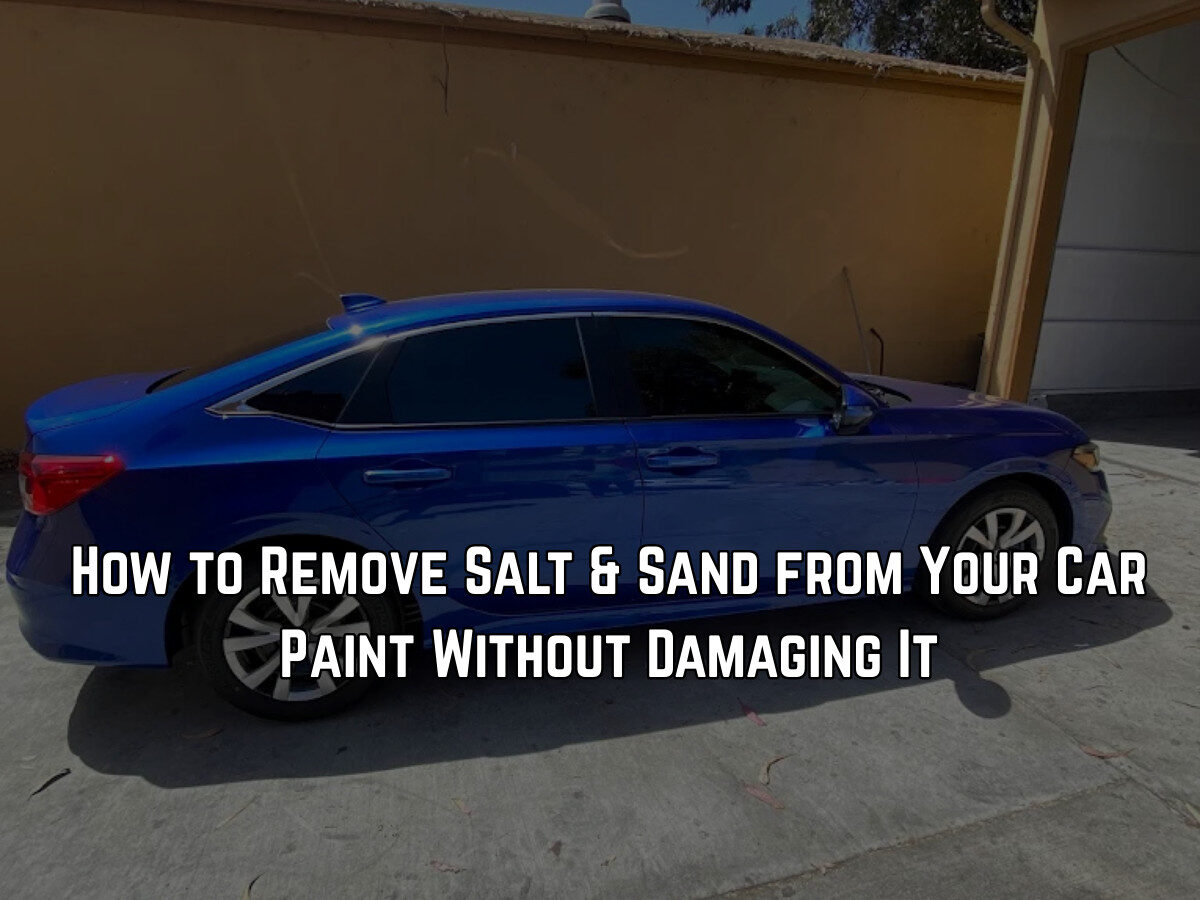
Salt and sand wreak havoc on car paint, causing corrosion, scratches, and premature aging. The safest removal method involves pre-rinsing with low-pressure water to flush away abrasive particles, followed by pH-neutral car soap application using the two-bucket wash method, and finishing with thorough drying. Never wipe salt or sand directly off dry paint as this grinds particles into the clear coat, creating permanent scratches.
Quick Action Guide
- Pre-rinse thoroughly with low-pressure water for 2-3 minutes before touching the paint
- Use pH-neutral car soap mixed at proper ratios (typically 1-2 oz per gallon)
- Two-bucket method prevents scratching: one for clean soap, one for rinsing your mitt
- Microfiber wash mitts trap particles better than sponges or brushes
- Dry immediately after washing to prevent water spots and residual salt deposits
- Wash frequency matters: weekly washes during winter or coastal exposure periods
- Never use household cleaners like dish soap, which strip protective wax layers
Understanding Salt and Sand Damage
Before jumping into removal techniques, you need to understand what you’re fighting against. Salt and sand aren’t just cosmetic nuisances.
How Salt Attacks Paint
Road salt, chemically sodium chloride or calcium chloride, is hygroscopic. That means it attracts and holds moisture against your car’s surface. This constant moisture creates perfect conditions for oxidation and rust formation.
Salt doesn’t directly dissolve paint, but it accelerates the breakdown of protective clear coat. Modern car paint has multiple layers: primer, base coat, and clear coat. The clear coat acts as a barrier protecting colored paint underneath. Salt compromises this barrier through chemical interaction and moisture retention.
Once salt penetrates to bare metal, rust begins immediately. Iron oxide (rust) expands as it forms, pushing paint away from metal and creating bubbling or flaking. This process happens faster than most people realize, sometimes within weeks of sustained salt exposure.
Sand’s Abrasive Properties
Sand particles work differently but are equally destructive. These tiny rocks act like sandpaper when pressure is applied. Wiping sand across paint with a towel or brush creates microscopic scratches called swirl marks or spider webbing.
Each grain of sand has sharp, irregular edges. When dragged across clear coat, these edges cut microscopic grooves. Individual scratches might be invisible, but thousands create a hazy, dull appearance that diffuses light instead of reflecting it cleanly.
Larger sand particles can create deeper scratches visible to the naked eye. These require professional paint correction to remove. Prevention through proper washing technique beats trying to fix scratches later.
Combined Damage Scenarios
Salt and sand together create compounded problems. Sand mixed with salt brine forms an abrasive paste that both scratches paint mechanically and attacks it chemically. This combination appears commonly on coastal vehicles and winter road conditions.
The paste lodges in panel gaps, door jambs, wheel wells, and under trim pieces. It continues causing damage long after you think you’ve cleaned the car. Thorough removal requires attention to these hidden areas where contamination accumulates.
Essential Supplies for Safe Removal
Having the right tools prevents damage during the cleaning process. Professional auto detailing in Seaside, CA uses specific equipment for good reason.
Washing Equipment
Two buckets represent the minimum requirement. One holds clean soap solution, the other rinse water for your wash mitt. This separation prevents reintroducing dirt and sand particles back onto paint.
Five-gallon buckets work better than smaller containers because they hold more water, keeping it cleaner longer. Adding grit guards to bucket bottoms helps trap particles that settle out, preventing them from getting back into your mitt.
Microfiber wash mitts trap and hold particles better than traditional sponges or brushes. The fiber structure creates pockets that capture contaminants instead of dragging them across paint. Replace mitts when they become worn or matted.
Avoid using household brushes or scrubbers on painted surfaces. These are too aggressive and create scratches. Save brushes for wheels and wheel wells where durability matters more than finish quality.
Cleaning Solutions
pH-neutral car soap designed specifically for automotive paint is non-negotiable. Household dish soap, while effective at cutting grease, strips wax and protective coatings from paint. This leaves your car vulnerable to the elements.
Quality car soap suspends dirt and particles in solution rather than letting them settle. This reduces the chance of recontamination during washing. Concentrated formulas typically require 1-2 ounces per gallon of water.
Avoid using all-purpose cleaners, glass cleaners, or other household products on car paint. These often contain chemicals that damage clear coat or leave residues that attract dirt.
Drying Materials
Microfiber drying towels absorb water far better than traditional chamois or cotton towels. Look for towels with 800-1200 GSM (grams per square meter) rating for maximum absorbency.
Using multiple towels prevents over-saturating any single towel, which can leave water behind. A medium-sized sedan typically needs 2-3 large drying towels for complete water removal.
Forced-air dryers or leaf blowers work exceptionally well for removing water from crevices, mirrors, and trim pieces where towels can’t reach. They also eliminate the need to touch these areas, reducing scratch risk.
The Pre-Rinse Process
This step might seem obvious, but it’s where most people make critical mistakes.
Why Pre-Rinsing Matters
Touching paint covered in salt and sand guarantees scratches. Pre-rinsing removes loose particles before any contact happens. Think of it like rinsing dishes before scrubbing—you’re removing the easy stuff first.
Water pressure and flow flush away surface contamination. This includes not just salt and sand but also dust, pollen, and other abrasives that accumulate daily. The pre-rinse can remove 60-70% of surface contaminants without touching the paint.
Skipping this step to save time actually costs time because you’ll need to polish out scratches later. Spending an extra 2-3 minutes on thorough pre-rinsing prevents hours of paint correction work.
Proper Pressure Settings
Use moderate water pressure for pre-rinsing. High-pressure washers can force water behind trim pieces, into door seals, or damage weatherstripping. A standard garden hose with spray nozzle provides adequate pressure.
Start from the top and work downward. Gravity helps carry loosened contaminants down and away from upper panels. This prevents recontamination as you work.
Pay extra attention to lower panels, rocker panels, and wheel wells where salt and sand accumulate thickest. These areas need more rinse time than upper body panels.
Temperature Considerations
Cold water works fine for most situations. Hot or warm water can help dissolve salt more effectively but isn’t necessary. In freezing temperatures, be cautious with water application to prevent immediate ice formation.
Never spray hot water on cold glass. Thermal shock can crack windshields or windows. If using heated water, let glass warm gradually or avoid direct spray on windows entirely.
The Two-Bucket Wash Method
This technique separates professional detailing from amateur car washing.
Setting Up Your Buckets
Fill one bucket with clean water and car soap mixed at the recommended ratio. Fill the second bucket with plain water for rinsing your mitt. Place grit guards in both buckets if available.
The soap bucket does the actual cleaning. The rinse bucket prevents contamination from returning to the paint. You’ll rinse your mitt in the plain water bucket after each panel before reloading with soap.
Position buckets where you can easily access them without moving around the car repeatedly. This maintains workflow and prevents the soap from drying on panels before you can rinse it.
Proper Washing Technique
Dip your wash mitt in the soap solution and wring out excess water. Start at the top of the car and work in straight lines rather than circles. Circular motions create swirl marks that show in certain lighting.
Use light pressure. Let the soap and mitt do the work rather than scrubbing aggressively. If contamination doesn’t come off easily, additional scrubbing won’t help and will only increase scratch risk. You may need to repeat the wash or use specialized products for stubborn spots.
After washing one panel or section, rinse the mitt thoroughly in the plain water bucket. Rub the mitt against the grit guard to release trapped particles. These settle to the bottom where they can’t recontaminate your mitt.
Reload the mitt with fresh soap solution and continue to the next panel. This constant rinsing prevents spreading salt and sand around instead of removing it.
Section-by-Section Approach
Divide the car into manageable sections: hood, roof, trunk, each door, and each fender. Wash one complete section, rinse it immediately, then move to the next section.
This prevents soap from drying on the paint. Dried soap leaves residue that attracts dirt and can create water spots. Working in sections maintains wet soap on the current work area while preventing dried soap elsewhere.
Lower sections like rocker panels and bumpers are typically dirtiest. Wash these last to avoid contaminating your mitt early in the wash process. Consider using a separate mitt for these extremely dirty areas.
Addressing Problem Areas
Some vehicle areas collect more salt and sand than others and need special attention.
Wheel Wells and Undercarriage
Wheel wells trap enormous amounts of road debris. This area isn’t visible paint, so you can use more aggressive cleaning methods. A dedicated wheel well brush helps dislodge compacted dirt and salt.
Spray wheel wells thoroughly with water or degreaser before scrubbing. The loosened material rinses away more easily. Flush undercarriage areas if possible, especially front and rear subframe areas where salt accumulates.
Some car washes offer underbody flush services. These use multiple spray nozzles to hit areas you can’t easily reach at home. Consider using these services monthly during winter or if you frequently drive on salted roads.
Door Jambs and Seals
Open doors carefully and check jamb areas. Salt spray accumulates here and causes rust in hidden areas. Use a damp microfiber towel to wipe jamb surfaces, hinges, and door seals.
Don’t blast water directly into door jambs with high pressure. This forces water past seals into door cavities where it can’t escape, leading to rust from the inside out.
Weather stripping needs gentle cleaning. Harsh chemicals or aggressive wiping can damage rubber seals, causing leaks and wind noise. Plain water or diluted car soap works fine.
Behind Trim and Badges
Salt collects behind trim pieces, emblems, and badges. These areas are difficult to clean but important because trapped salt causes localized rust and paint damage.
Use a soft detailing brush or microfiber towel to carefully work around these features. Don’t pry trim pieces up to clean behind them unless you’re confident about reinstalling them properly. Broken trim clips create bigger problems than salt buildup.
For stubborn deposits, let soapy water sit on the area for 30-60 seconds before gentle agitation. This softening time reduces the mechanical action needed for removal.
The Critical Rinse Phase
Rinsing seems straightforward but requires attention to detail.
Complete Soap Removal
Every bit of soap must come off. Residual soap attracts dirt and can cause water spotting. Start rinsing from the top and work downward, ensuring water flows over all surfaces.
Use adequate water volume. A weak trickle won’t flush soap from crevices and panel gaps. A moderate stream provides better flushing action.
Check areas where panels meet, around windows, and under side mirrors. These spots commonly retain soap that becomes visible as white residue after drying.
Final Decontamination Check
After rinsing, run your hand over paint surfaces while they’re still wet. Properly cleaned paint should feel smooth like glass. Any roughness or grittiness indicates remaining contamination.
If you feel texture, rewash that area. This tactile inspection catches what visual inspection might miss. It’s much easier to rewash now than to discover embedded contaminants after drying.
Proper Drying Techniques
How you dry matters as much as how you wash.
Immediate Drying Importance
Water droplets contain dissolved minerals and potentially remaining salt traces. As water evaporates, these minerals concentrate and eventually deposit on paint as water spots. These spots can etch into clear coat if left long enough, requiring polishing to remove.
Dry the car immediately after washing, working quickly before water evaporates naturally. On hot days, work in shade if possible to slow evaporation and give yourself more working time.
Blotting vs. Dragging
Proper drying technique uses blotting rather than dragging motions. Lay the microfiber towel flat on the surface and pat or press gently to absorb water. Avoid rubbing or dragging the towel across paint.
Dragging, even with a clean towel, can create micro-scratches if any particles remain on the paint or get picked up by the towel. Blotting lifts water without lateral movement that causes scratching.
Fold towels into quarters, using each section until saturated before refolding to expose fresh, dry surface. This maximizes towel absorbency and reduces the number of towels needed.
Hard-to-Reach Areas
Mirrors, door handles, trim gaps, and badging hold water that drips onto clean, dried panels. Use compressed air, a leaf blower, or dedicated air dryer to blow water from these crevices.
Alternatively, touch a corner of your drying towel to trapped water and let capillary action draw it into the towel. This works for small amounts but isn’t practical for larger water accumulations.
Frequency and Prevention
Regular maintenance prevents salt and sand buildup from becoming serious problems.
Washing Schedule During Exposure
If you drive on salted roads daily during winter, wash weekly at minimum. Salt begins causing damage within days of exposure, not weeks or months. Frequent washing interrupts the corrosion process before it progresses.
Coastal residents face similar challenges from salt spray. Ocean salt is even more corrosive than road salt because it contains additional minerals like magnesium chloride. Weekly washing helps here too.
After particularly salty road conditions, like driving through slush or following salt trucks, wash within 24-48 hours. The concentration matters as much as duration.
Protective Coatings
Wax, sealants, and ceramic coatings create barriers between paint and contaminants. These protective layers make salt and sand easier to remove during washing and reduce chemical interaction with clear coat.
A quality carnauba wax lasts 1-3 months depending on conditions. Synthetic sealants last 4-6 months. Ceramic coatings can last 2-5 years or more. Each offers progressively more durable protection.
Apply protective coatings before winter or moving to coastal areas. The investment pays off through easier maintenance and better paint preservation. Professional ceramic coating provides the strongest defense against salt damage.
Storage Considerations
Parking in a garage eliminates most salt and sand exposure when the vehicle isn’t being driven. This simple change dramatically reduces contamination buildup.
If garage parking isn’t possible, car covers provide some protection but have drawbacks. Covers can trap moisture against paint if the car isn’t completely dry. They also rub against paint in wind, potentially causing scratches if any dirt is present.
What Not to Do
Some common practices cause more harm than good.
Automatic Car Wash Concerns
Touchless automatic washes seem convenient but rarely clean as thoroughly as hand washing. The high-pressure chemicals and water can remove surface salt but often miss wheel wells, jambs, and other critical areas.
Brush-style automatic washes risk scratching because the brushes contact hundreds of cars daily, accumulating grit that then gets dragged across your paint. If you must use automatic washes, choose touchless versions.
Dry Brushing or Wiping
Never brush or wipe salt and sand off dry paint. This is perhaps the single most damaging thing you can do. Every particle acts as an abrasive, gouging clear coat as you drag it across the surface.
Even soft brushes cause damage when used on contaminated dry paint. The contamination is the problem, not the brush itself. Always pre-rinse thoroughly before any physical contact with paint.
Harsh Chemical Use
Degreasers, wheel cleaners, and industrial cleaners are too aggressive for automotive paint. These products strip protective wax layers and can damage clear coat with prolonged or repeated exposure.
Stick to products specifically formulated for car paint. These undergo testing to ensure they clean effectively without causing damage. The peace of mind is worth the slightly higher cost.
Pressure Washer Mistakes
High-pressure washers can damage paint, trim, and seals when used incorrectly. Keep the nozzle at least 12-18 inches from painted surfaces and avoid using focused spray patterns on paint.
Never pressure wash at an angle that drives water behind trim, under seals, or into panel gaps. This forces water into areas where it causes hidden rust damage.
When DIY Isn’t Enough
Sometimes contamination requires professional intervention.
Embedded Contamination
If you feel rough spots even after thorough washing, contaminants may be bonded to the clear coat. Clay bar treatment or chemical decontamination removes these embedded particles.
Clay bars are special compounds that grab and pull bonded contaminants off paint when lubricated with detailing spray. This process is more intensive than washing but necessary when washing alone doesn’t restore smoothness.
Existing Paint Damage
If salt exposure has already caused paint bubbling, flaking, or visible rust, you need professional paint repair. DIY fixes for these issues rarely work well and often make problems worse.
Professional detailers and body shops can assess damage extent and recommend appropriate repairs. Early intervention prevents small rust spots from spreading into major corrosion requiring panel replacement.
Heavy Scratch Removal
Scratches from improper cleaning techniques require paint correction through machine polishing. This removes a microscopic layer of clear coat to level the surface and eliminate scratches.
Paint correction is a skilled process best left to professionals. Attempting it without proper training and equipment can burn through clear coat, causing irreparable damage requiring repainting.
Long-Term Paint Protection
Maintaining paint quality requires thinking beyond individual washes.
Regular Inspection
Check paint condition monthly. Look for rust spots, especially along lower panels, wheel wells, and around trim. Early detection allows simple fixes before damage spreads.
Run your hand over paint surfaces periodically to feel for bonded contamination. If the surface feels rough, schedule clay bar treatment even if it looks clean visually.
Seasonal Deep Cleaning
Beyond regular washing, perform thorough detail sessions seasonally. This includes cleaning every crevice, treating protective coatings, and inspecting for damage.
Spring cleaning after winter road salt exposure is particularly important. Remove all winter contamination before warm weather arrives and accelerates any corrosion processes.
Documentation
Photograph your car’s condition periodically. These photos help you notice gradual changes that might otherwise go undetected. They also provide documentation of condition for insurance or resale purposes.
Pay special attention to photographing problem-prone areas: rocker panels, behind wheels, door jambs, and lower edges of doors and fenders. These areas show salt damage first.
Professional Detailing Benefits
While DIY maintenance handles routine cleaning, professional services offer advantages worth considering.
Professional detailers have specialized equipment like heated extractors for deep cleaning, professional-grade polishers for paint correction, and commercial-strength products not available to consumers. They also bring experience recognizing problems before they become serious.
A professional detail session every 6-12 months complements regular DIY maintenance. The detailer handles deep cleaning and paint correction while you maintain the results between visits.
Ceramic coating application particularly benefits from professional service. These coatings require meticulous paint preparation and precise application technique. Professional application ensures full warranty coverage and optimal performance.